The Complete Roof Replacement Process: What to Expect from Start to Finish
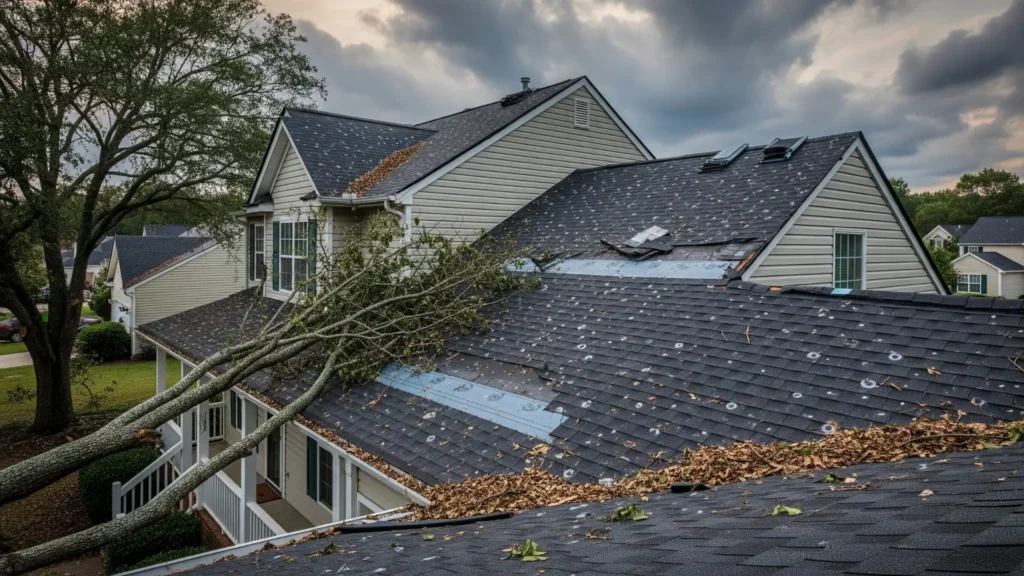
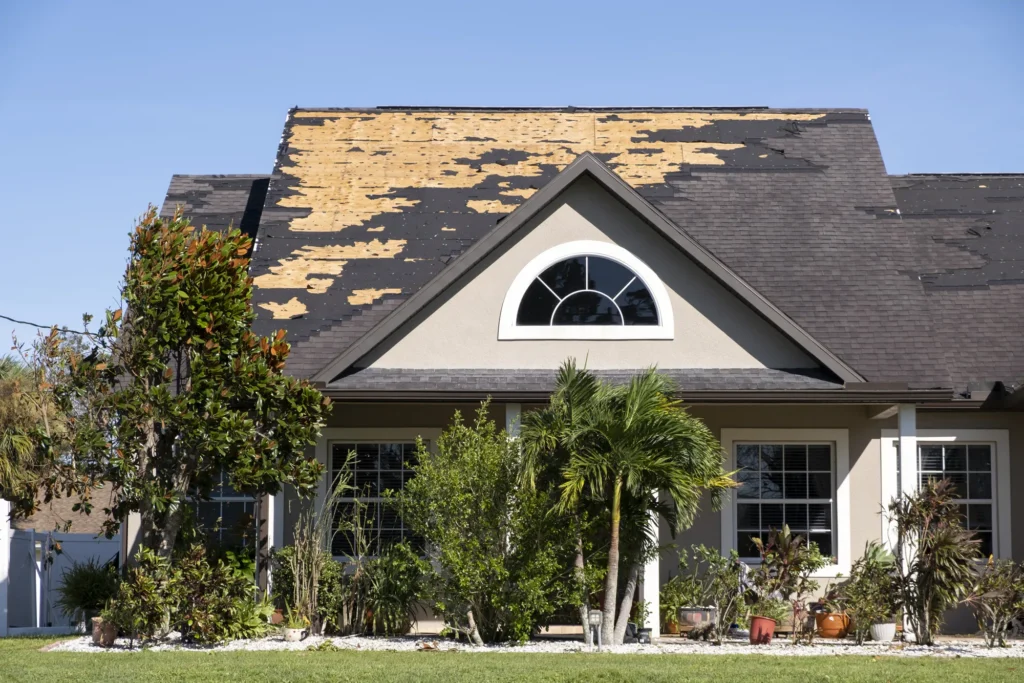
Realizing that it is time for a new roof can be a daunting moment for any homeowner. Because a roof is one of the most significant financial investments you will make for your property, it is completely normal to feel a bit overwhelmed by the upcoming construction. Whether you are dealing with age-related wear and tear or sudden storm damage, understanding the roof replacement process is the best way to alleviate stress and ensure a smooth project.
To help you prepare, we have broken down exactly what happens when you hire a professional roofing contractor. Here is your comprehensive guide to the roof replacement process, from the initial inspection to the final cleanup.
1. The Initial Roof Inspection and Estimate
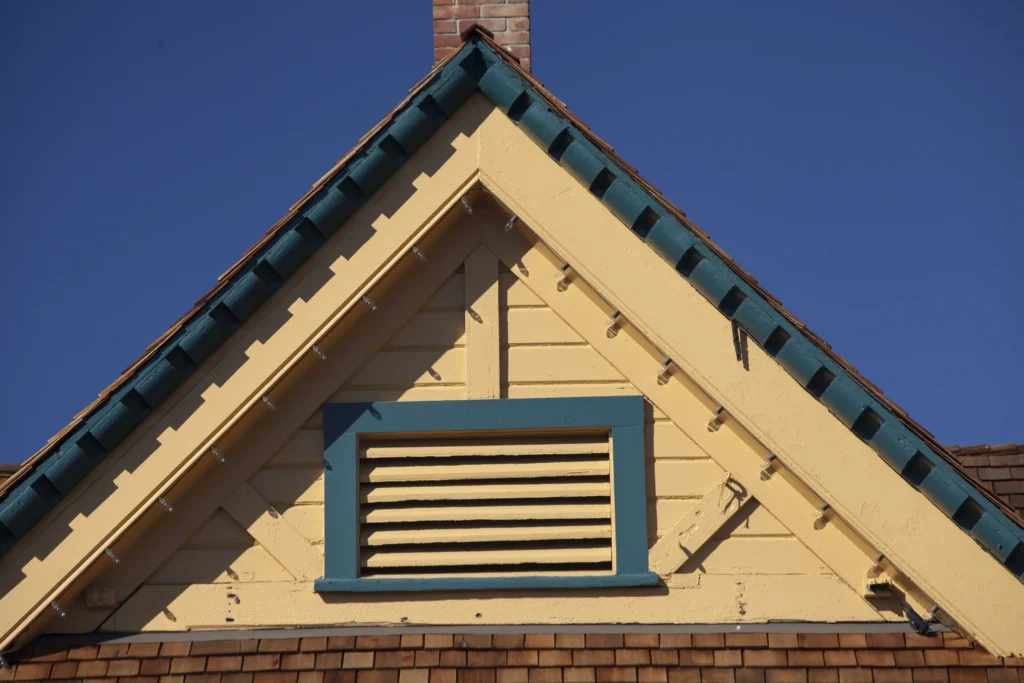
The entire process begins long before a hammer is swung. A reputable roofing contractor will start with a comprehensive, on-site inspection. During this phase, the roofer will examine the current condition of your shingles, flashing, and gutters. They will also look for underlying issues, such as poor attic ventilation or soft spots in the wooden decking that indicate hidden moisture damage.
After the assessment, you will receive a detailed estimate. This document should clearly outline the scope of work, the materials to be used, the estimated timeline, and the total cost. This is the perfect time to ask questions and discuss financing options to ensure the project fits your budget.
2. Choosing Materials and Scheduling
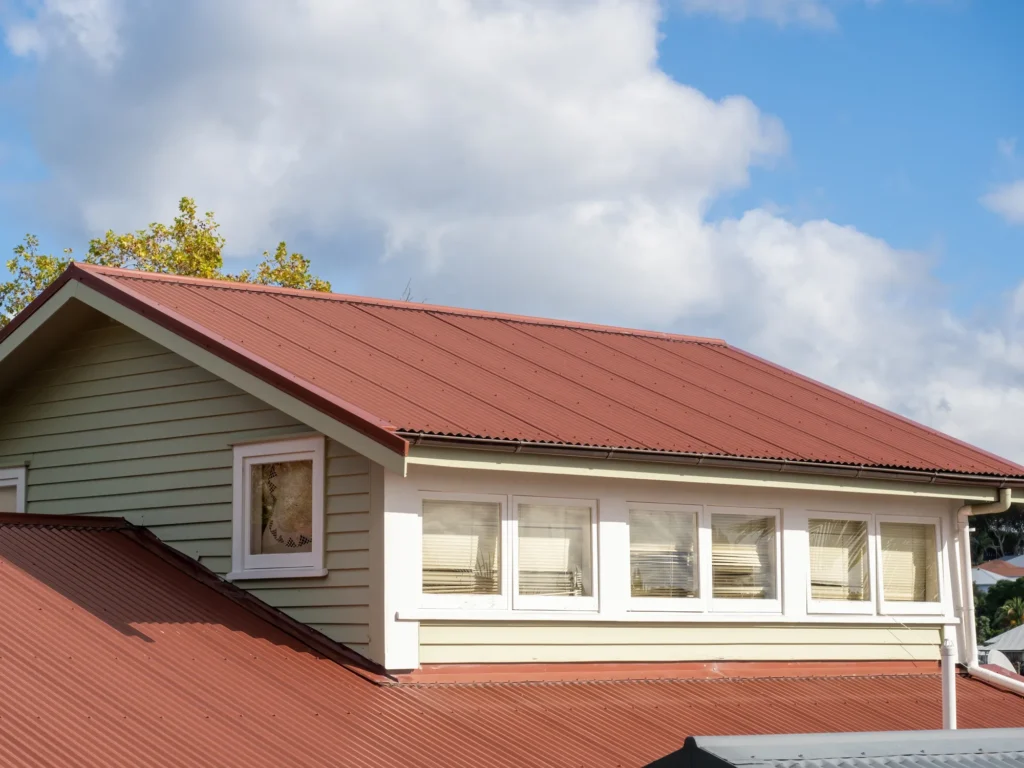
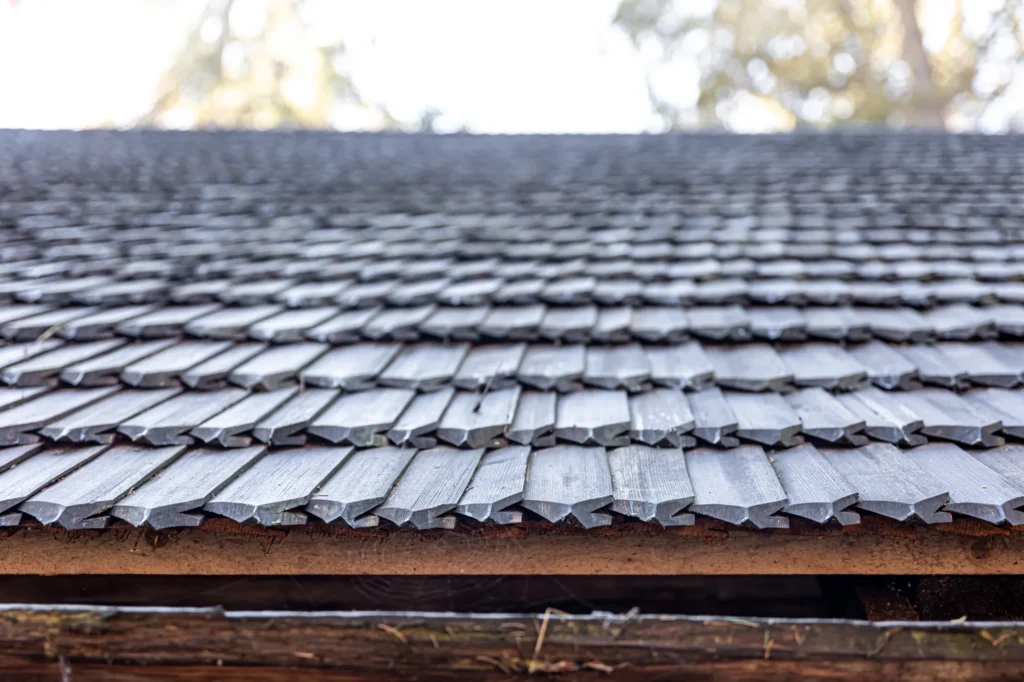
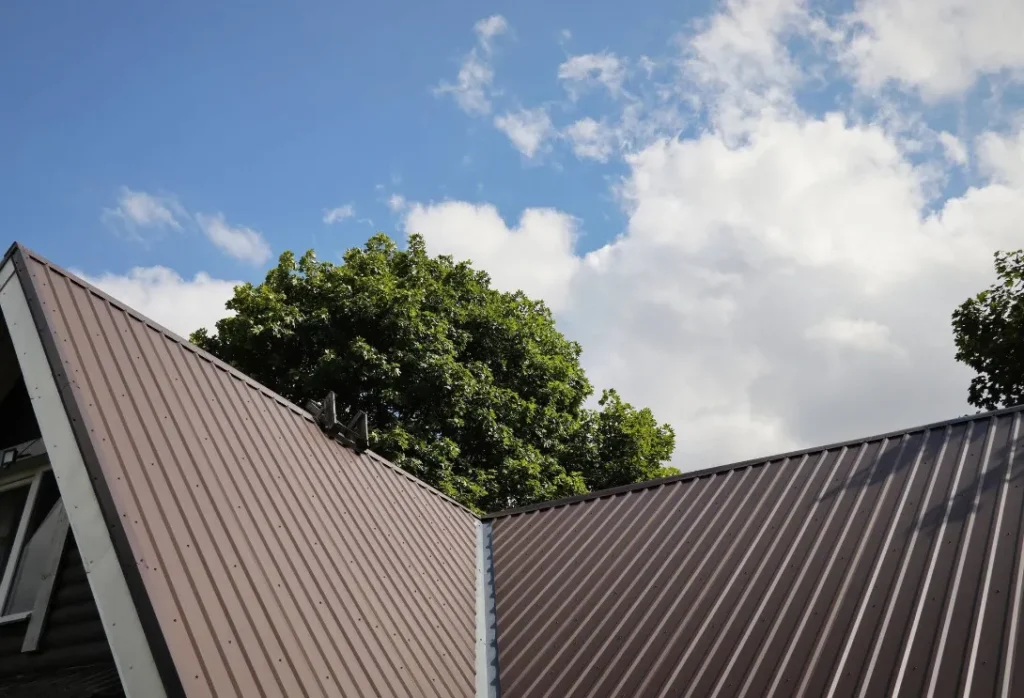
Once you approve the estimate, it is time to choose your new roofing materials. Depending on your home’s architectural style and your personal budget, you might opt for traditional architectural asphalt shingles or upgrade to a highly durable metal roof.
After selecting the color and material, your contractor will order the supplies and schedule your installation date. Keep in mind that roofing is highly weather-dependent. If North Carolina experiences unexpected heavy rain or severe winds, your start date may need to be slightly adjusted for the safety of the crew and the protection of your home.
3. Preparing Your Home for Installation Day
A roof replacement is a major construction project, and it can be noisy and messy. A few days before the crew arrives, you will need to prepare your property to ensure everything goes smoothly:
- Clear the Driveway: The roofing crew will need space to park their vehicles, drop off the materials, and place the dumpster for the old debris.
- Protect the Attic: The vibrations from hammering can knock dust and debris loose in your attic. Cover any stored belongings with plastic tarps.
- Secure the Exterior: Move patio furniture, potted plants, and grills away from the perimeter of the house to protect them from falling debris.
- Keep Pets and Children Safe: The loud noises can be stressful for animals. Keep pets indoors and ensure children stay far away from the active work zone.
4. The Tear-Off and Structural Inspection
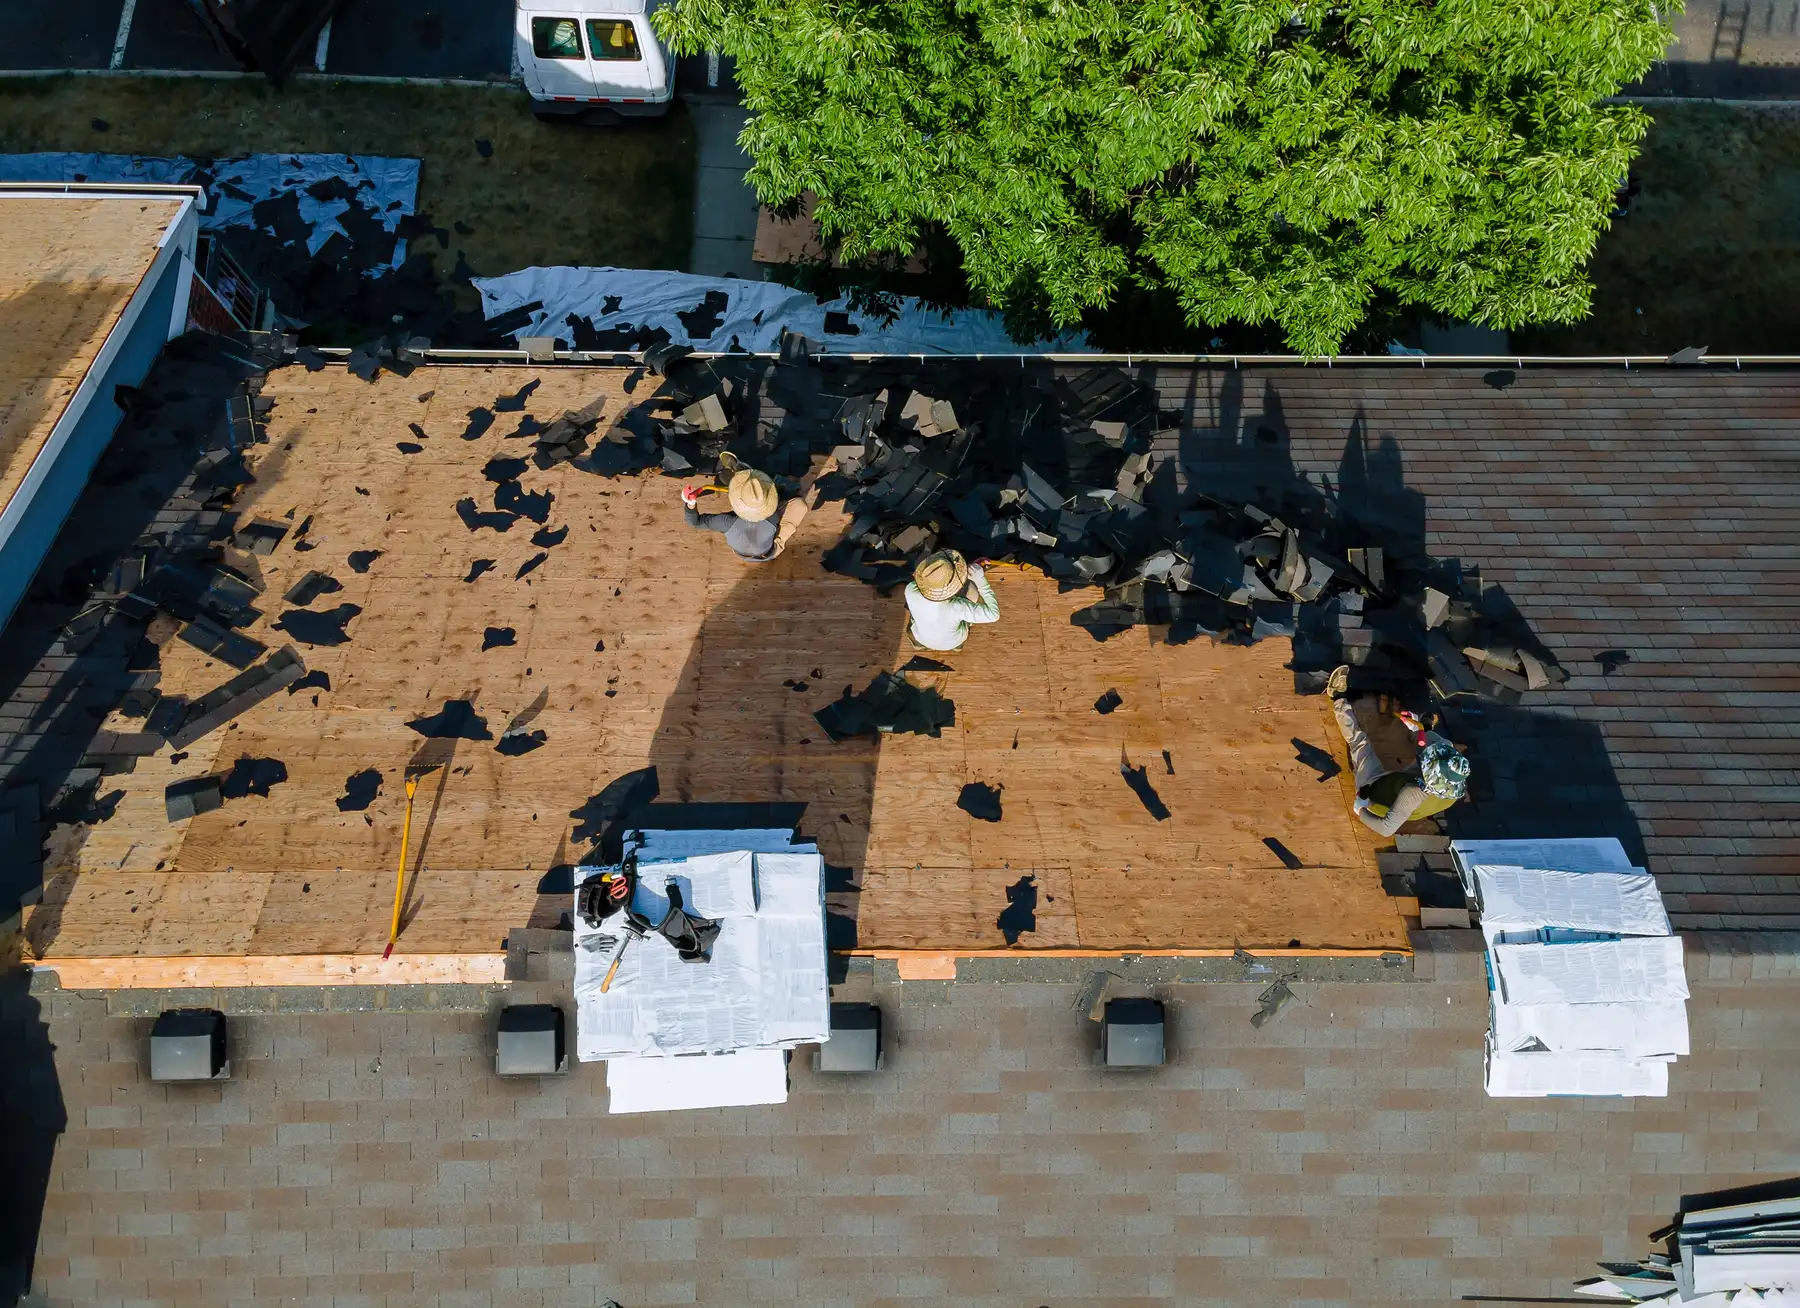
On the day of the project, the first major step is removing the old roof. The crew will strip away the existing shingles, underlayment, and old flashing down to the bare wooden decking.
Once the “bones” of your roof are exposed, the contractor will perform a crucial structural inspection. If any of the wooden decking boards are rotting, compromised by water, or broken, they must be replaced. Installing a brand-new roof over a rotten foundation is a recipe for disaster.
5. Installing the New Roofing System
A high-quality roof is not just a layer of shingles; it is a complex, interconnected system designed to keep water out and allow your home to breathe. The installation typically follows this order:
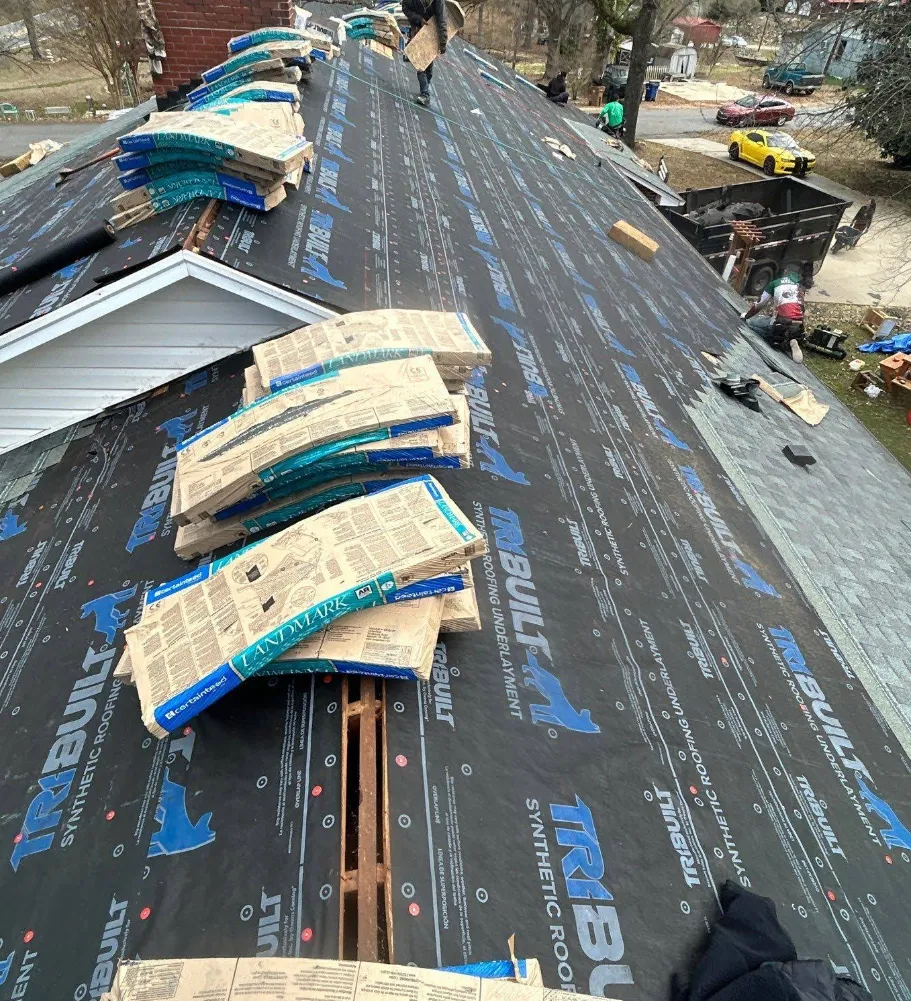
- Drip Edge and Underlayment: Metal drip edges are installed along the eaves to prevent water from curling back under the wood. Then, a water-resistant underlayment (often synthetic or felt) is rolled out over the entire deck.
- Ice and Water Shield: In vulnerable areas like the roof valleys and around the chimney, a self-sealing membrane is applied for extra leak protection.
- The Primary Material: Whether you chose asphalt shingles or metal roofing, the primary material is systematically installed from the bottom edge working up to the peak.
- Flashing and Ridge Capping: New metal flashing is installed around all penetrations (chimneys, skylights, vents) to seal the seams. Finally, ridge cap shingles are placed at the very peak of the roof.
6. The Final Cleanup and Walkthrough
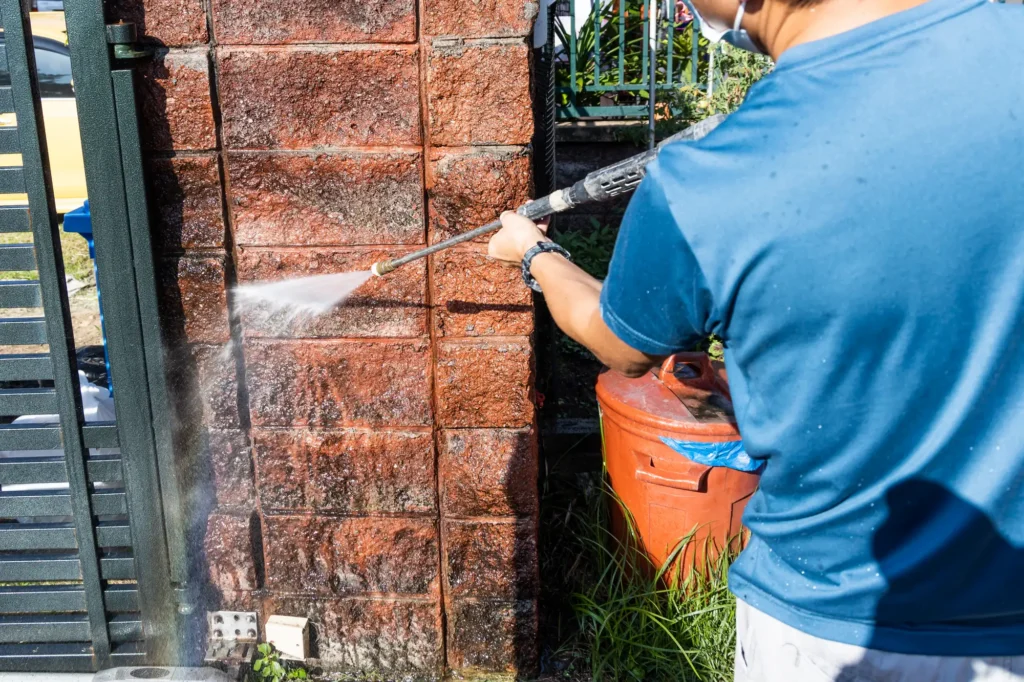
A professional roofing company respects your property. Once the installation is complete, the cleanup process begins. The crew will haul away the dumpster, sweep the driveways and walkways, and use high-powered magnetic sweepers across your lawn to pick up any stray nails or metal fasteners.
Finally, the project manager will walk you through the finished job. This is your opportunity to inspect the workmanship, ask final questions, and review your new warranty information.
Trust Your Home to the Local Experts
Navigating the roof replacement process is significantly easier when you choose a contractor you can trust. At Divine Roofing LLC, we are committed to making your home improvement journey as seamless and stress-free as possible. Backed by an A+ BBB rating and over 20 years of hands-on experience, we are proud to be Shelby’s trusted choice for premium roofing services.
Ready to get started? Contact Divine Roofing LLC today at (704) 530-6067 or request your free, no-obligation quote online. Let us be your trusted partner for all your home improvement needs!